Polar Alignment with Synscan SkywatcherAllineamento Polare con Synscan Skywatcher
Astrophotography requires aligning the equatorial mount with the Celestial North Pole to compensate for the Earth's rotation. When Polaris is not directly visible, alignment can be performed using the built-in "Polar Alignment" function available on the SynScan Hand Controller for SkyWatcher mounts (firmware v3.35 or later).
Compared to classic drift-measurement methods (such as the Bigourdan method), the controller-assisted procedure reduces polar alignment time while still delivering the precision required for astrophotographic tracking.
Procedure
- ■Roughly point the mount north using a compass.
- ■Power on the mount and enter the configuration data (geographic coordinates, date, local time and altitude).
- ■Perform the initial 2- or 3-star alignment (a prerequisite for enabling the "Polar Alignment" function).
L'astrofotografia richiede l'allineamento della montatura equatoriale con il Polo Nord Celeste per compensare la rotazione terrestre. In assenza di visibilità diretta della stella Polaris, è possibile eseguire l'allineamento tramite la funzione integrata "Polar Alignment" disponibile sulla pulsantiera SynScan per montature SkyWatcher (firmware v3.35 o superiore).
Rispetto ai metodi classici di misurazione della deriva (come il metodo Bigourdan), la procedura assistita da controller riduce i tempi di stazionamento garantendo la precisione richiesta dall'inseguimento fotografico.
Procedura
- ■Orientare la montatura approssimativamente verso nord tramite bussola.
- ■Accendere la montatura e inserire i dati di configurazione (coordinate geografiche, data, ora locale e altitudine).
- ■Eseguire la procedura di allineamento iniziale a 2 o 3 stelle (requisito propedeutico per abilitare la funzione "Polar Alignment").
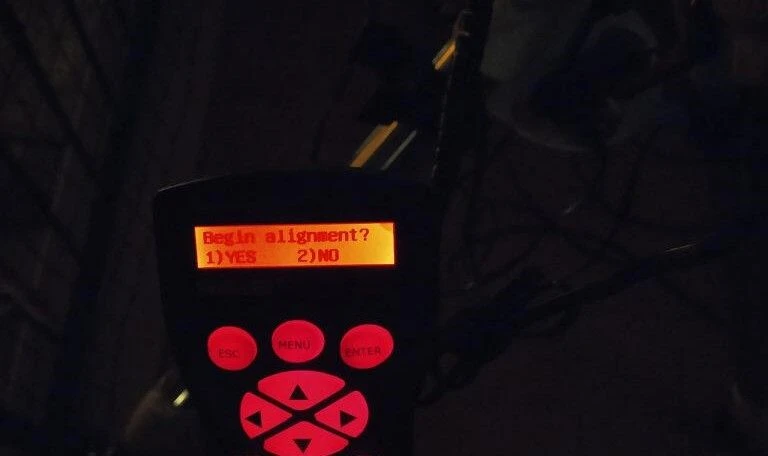
We will select the stars suggested by the Hand Controller based on our field of view. At this point, the camera you'll use for photography (or the eyepiece if you're a visual observer) and the associated software will come into play. In this example, I used a SkyWatcher EQ6-R mount, aZWO ASI 294 MC Pro camera, and SharpCap software. If you're using a DSLR, I recommend theAstro Photography Tool (APT)software, which is compatible with many Canon and Nikon DSLRs.
In our case, since we have a very limited field of view (ranging between West and Northwest), we'll opt for a 2-star alignment: Alpheratz and Deneb. OpenSharpCap, select your camera from the "Cameras" menu, and adjust the gain and exposure time until the stars appear in your field of view.
Selezioneremo le stelle suggerite dall'Hand Controller in base al nostro campo inquadrato. A questo punto entrano in gioco la camera che userai per la ripresa (o l'oculare se sei un osservatore visuale) e il relativo software. In questo esempio ho usato una montatura SkyWatcher EQ6-R, una camera ZWO ASI 294 MC Pro e il softwareSharpCap. Se usi una reflex, consiglio il softwareAstro Photography Tool (APT), compatibile con molte reflex Canon e Nikon.
Nel nostro caso, avendo un campo di vista molto limitato (compreso tra ovest e nord-ovest), opteremo per un allineamento a 2 stelle: Alpheratz e Deneb. ApriSharpCap, seleziona la tua camera dal menu "Cameras" e regola guadagno e tempo di esposizione finché le stelle non compaiono nel tuo campo inquadrato.
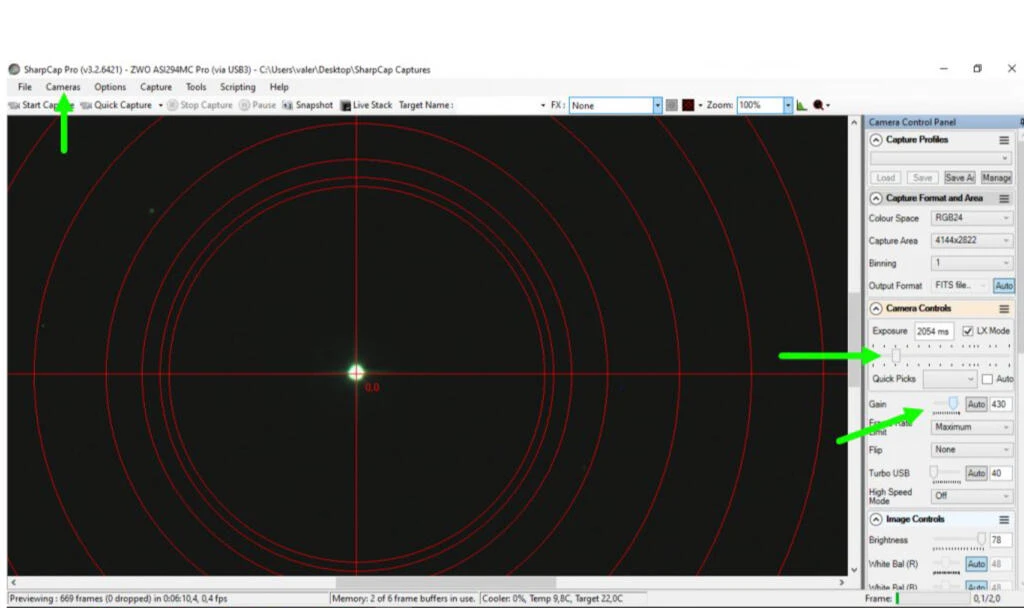
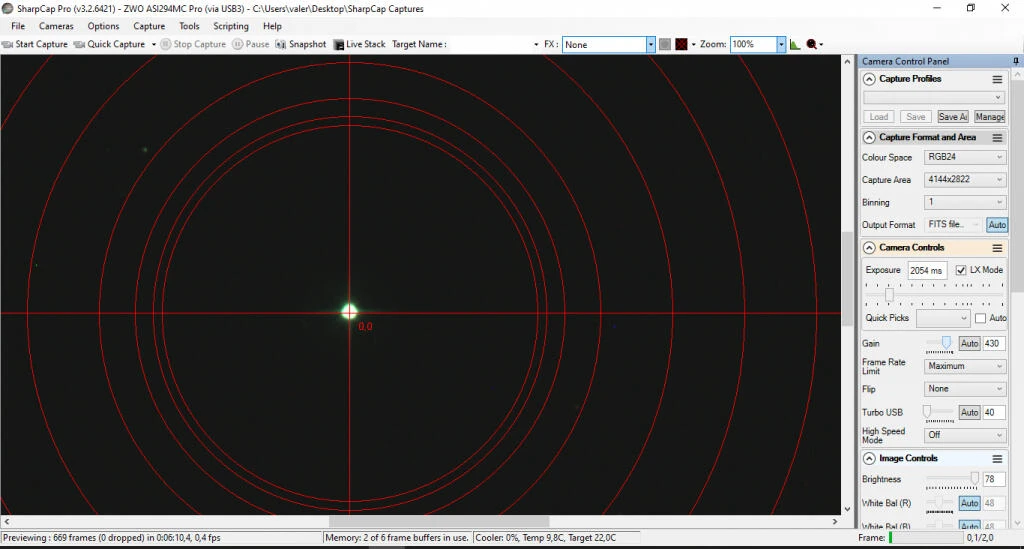
Activate your reticle (the red crosshair next to the Zoom function), and now use the arrow keys on your controller to move the selected star until it is perfectly centered in the crosshair. Once aligned, press ENTER.
Attiva il reticolo (il mirino rosso accanto alla funzione Zoom), e ora usa i tasti freccia sul tuo controller per spostare la stella selezionata finché non è perfettamente centrata nel mirino. Una volta allineata, premi ENTER.
Repeat the same procedure with the second star. Once this alignment is complete, the mount will provide, via the Hand Controller, some values indicating the polar error in degrees, minutes, and seconds. These values will show how far off the alignment is in AZ (Azimuth) andEL (Elevation).
Ripeti la stessa procedura con la seconda stella. Una volta completato questo allineamento, la montatura fornirà, tramite l'Hand Controller, alcuni valori che indicano l'errore polare in gradi, minuti e secondi. Questi valori mostreranno quanto è impreciso l'allineamento in AZ(Azimut) ed EL (Elevazione).
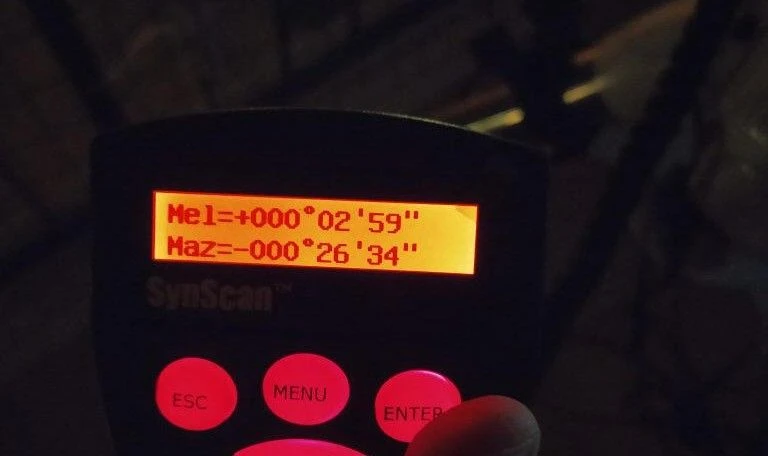
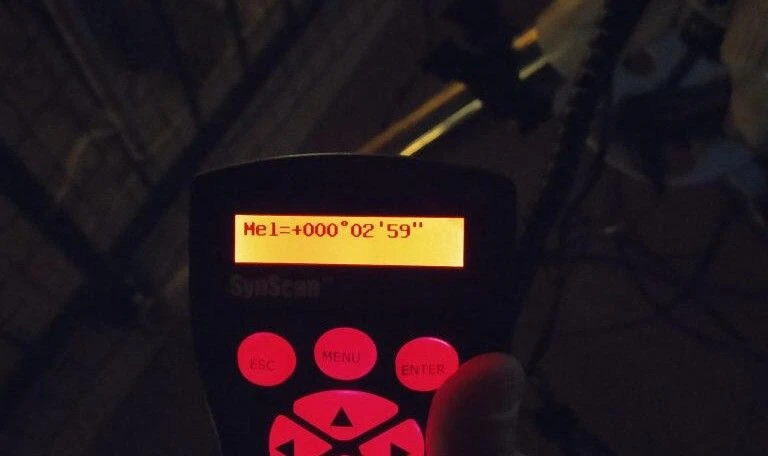
Let's read the values: it tells us that we have an error of 2 minutes and 59 seconds in Elevation and 26 minutes and 34 seconds in Azimuth.
Reducing AZ EL Error
Here is the procedure to minimize this error. By scrolling through the menu using the down arrows on the Hand Controller, we will find the Polar Alignment tool.
Leggiamo i valori: ci dice che abbiamo un errore di 2 minuti e 59 secondi in Elevazione e 26 minuti e 34 secondi in Azimut.
Riduzione dell'Errore AZ EL
Ecco la procedura per minimizzare questo errore. Scorrendo il menu con le frecce giù sull'Hand Controller, troveremo lo strumento Polar Alignment.
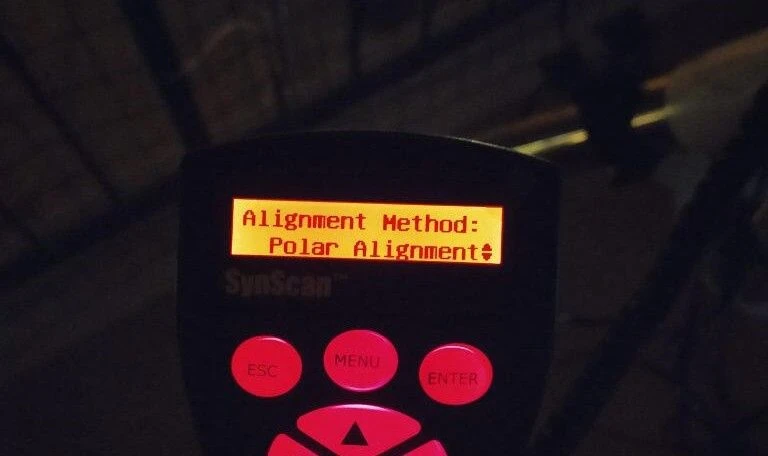
Press ENTER, and it will prompt us to choose a star on which it will apply the corrections we provide by adjusting Azimuth and Elevation. In our case, we will selectDeneb again.
Premi ENTER, e ci chiederà di scegliere una stella su cui applicherà le correzioni che forniremo regolando Azimut ed Elevazione. Nel nostro caso, selezioneremo di nuovo Deneb.
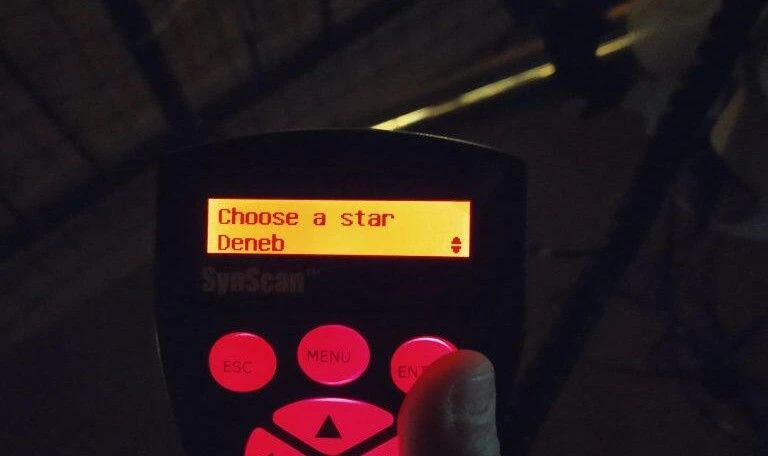
Using the arrows on the Hand Controller, we will bring it back to the center of the SharpCap crosshair.
Usando le frecce sull'Hand Controller, la riporteremo al centro del mirino di SharpCap.
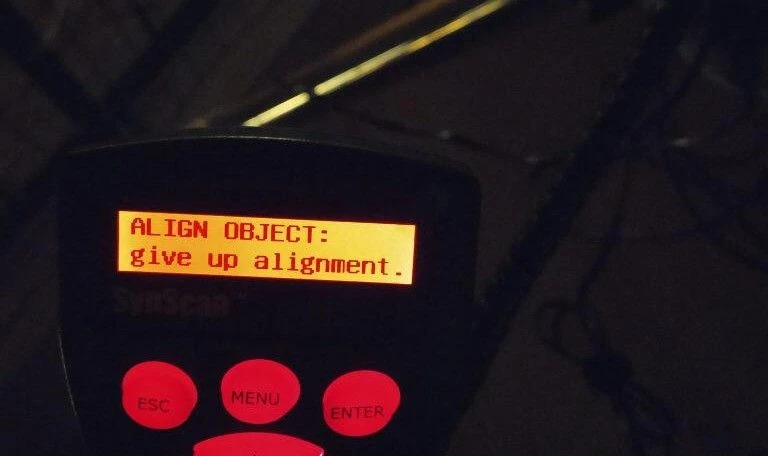
Now, by pressing ENTER, the Polar Alignment tool will shift our star by an amount equal to the Elevation error calculated after the 2/3-star alignment—in our case, 2 minutes and 59 seconds.
Ora, premendo ENTER, lo strumento Polar Alignment sposterà la nostra stella di una quantità pari all'errore di Elevazione calcolato dopo l'allineamento a 2/3 stelle, nel nostro caso2 minuti e 59 secondi.
On the SharpCap crosshair, we will see this situation (refer to the figure).
Sul mirino di SharpCap vedremo questa situazione (fai riferimento alla figura).
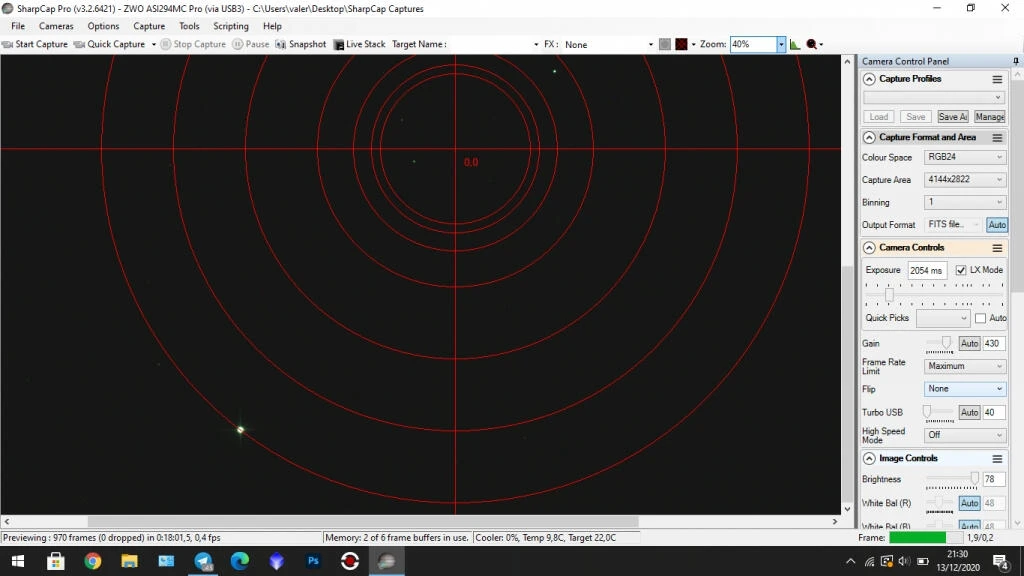
As you can see, the star has been shifted. Now, by adjusting ONLY the Elevation adjustment screws (refer to the figure), we will aim to bring the star back to the center of the SharpCap crosshair.
Come puoi vedere, la stella è stata spostata. Ora, regolando SOLO le viti di regolazione dell'Elevazione (fai riferimento alla figura), cercheremo di riportare la stella al centro del mirino di SharpCap.
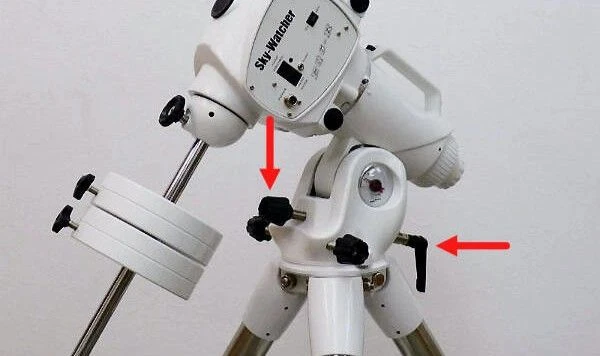
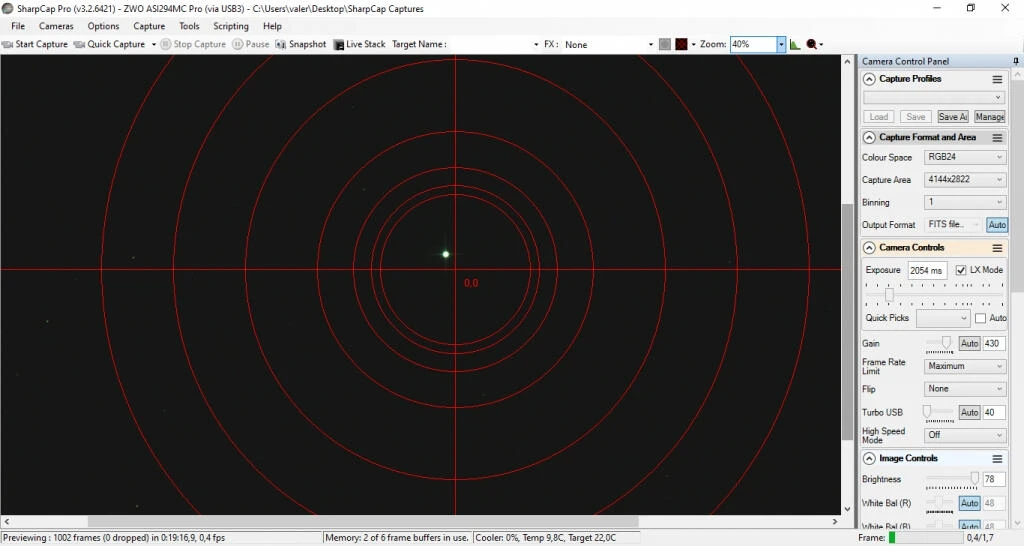
Don't worry if we can't bring it precisely to the center. Remember, we are correcting only one axis at a time, so the important thing is to get as close to the center as possible. Once completed, the Hand Controller will register the adjustment and prompt us to make the correction inAzimuth as well.
Non preoccuparti se non riesci a portarla esattamente al centro. Ricorda, stiamo correggendo un solo asse alla volta, quindi l'importante è avvicinarsi il più possibile al centro. Una volta completato, l'Hand Controller registrerà la regolazione e ci chiederà di effettuare la correzione anche inAzimut.
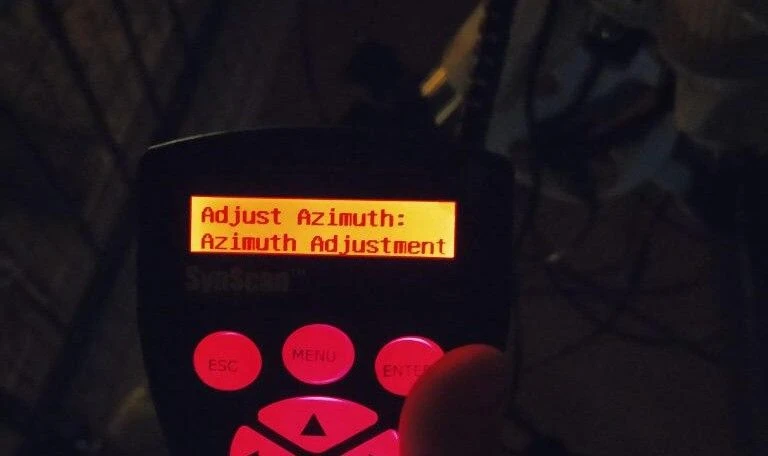
The Polar Alignment tool will shift our star by an amount equal to the Azimuth error calculated after the 2/3-star alignment in our case, 26 minutes and 34 seconds.
Tip: Since this is a very large shift, our reference star will likely have moved out of the camera's field of view. To assist with the adjustments, it is advisable to have afinder scope mounted on the main tube to help guide the movements and bring the star back to the center of the crosshair.
Repositioning the Star
To reposition the star and allow the mount to register the correction, this time we need to adjust theAzimuth adjustment screws (refer to the figure).
Lo strumento Polar Alignment sposterà la nostra stella di una quantità pari all'errore di Azimut calcolato dopo l'allineamento a 2/3 stelle, nel nostro caso 26 minuti e 34 secondi.
Suggerimento: Trattandosi di uno spostamento molto ampio, è probabile che la nostra stella di riferimento sia uscita dal campo inquadrato della camera. Per facilitare le regolazioni, è consigliabile avere un cercatore montato sul tubo principale per aiutare a guidare i movimenti e riportare la stella al centro del mirino.
Riposizionamento della Stella
Per riposizionare la stella e permettere alla montatura di registrare la correzione, questa volta dobbiamo regolare le viti di regolazione dell'Azimut (fai riferimento alla figura).
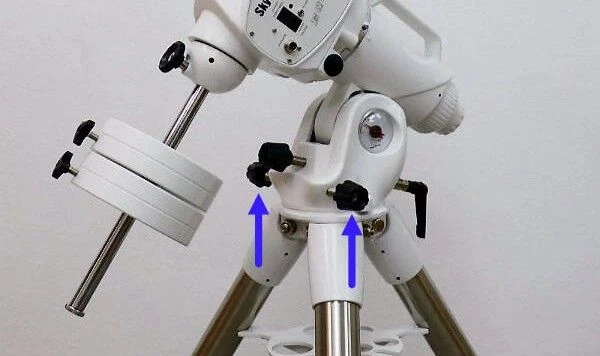
Again, we aim to bring the star as close as possible to the center of the crosshair. Once Azimuth has been adjusted, we can press ENTER on the Hand Controller to complete the correction phase.
Now, we need to verify whether the polar alignment error has reached an acceptable value. This is checked by performing a new 2/3-star alignment.
Personal Tip: I prefer to return the mount to its starting position (with the tube pointing North) by powering it off and restarting the system. From the Hand Controller, scroll through the menus and select Park Scope, which will park the mount while retaining all the previously entered data.
Anche qui, cerchiamo di portare la stella il più vicino possibile al centro del mirino. Una volta regolato l'Azimut, possiamo premere ENTER sull'Hand Controller per completare la fase di correzione.
Ora dobbiamo verificare se l'errore di allineamento polare ha raggiunto un valore accettabile. Lo verifichiamo eseguendo un nuovo allineamento a 2/3 stelle.
Consiglio personale: Preferisco riportare la montatura nella sua posizione di partenza (con il tubo rivolto a Nord) spegnendola e riavviando il sistema. Dall'Hand Controller, scorri i menu e seleziona Park Scope, che parcheggerà la montatura mantenendo tutti i dati inseriti in precedenza.
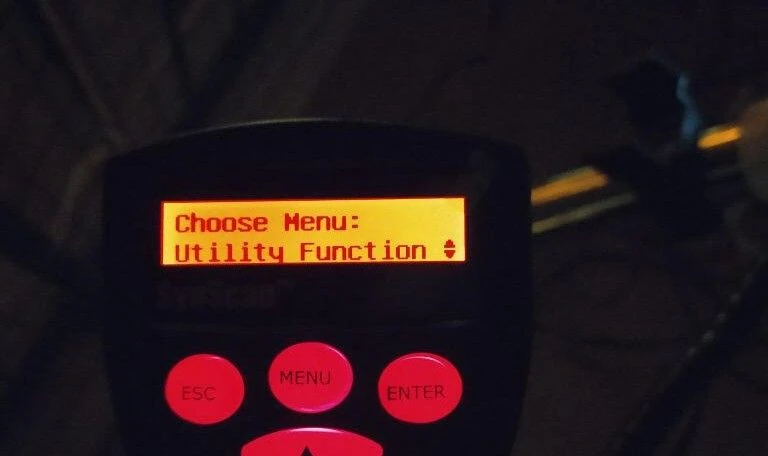
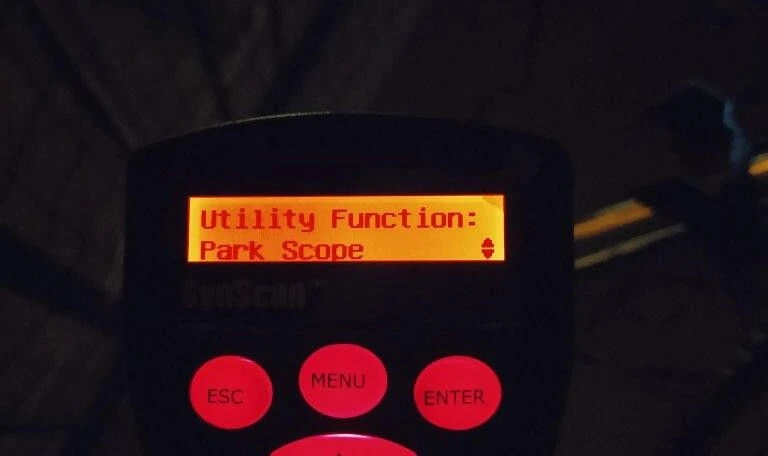
Turn off and restart the mount. The Hand Controller will ask if we want to restore the previousPark data. We will select Yes, recalling the configuration and simply confirming the date and time.
Spegni e riavvia la montatura. L'Hand Controller chiederà se vogliamo ripristinare i precedenti dati diPark. Selezioneremo Sì, richiamando la configurazione e confermando semplicemente data e ora.
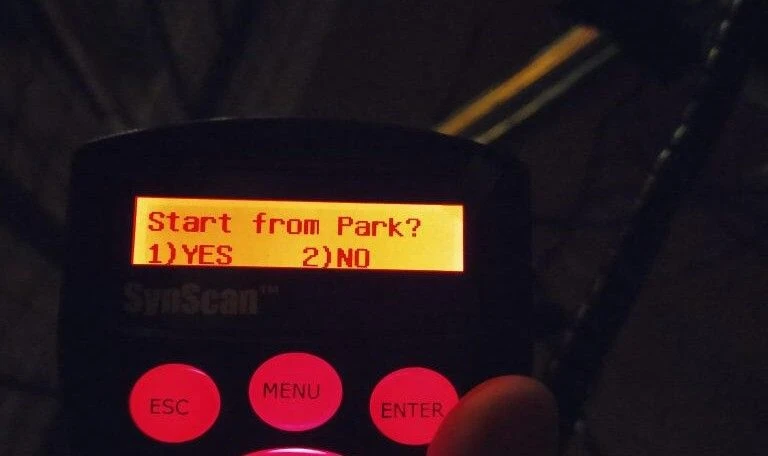
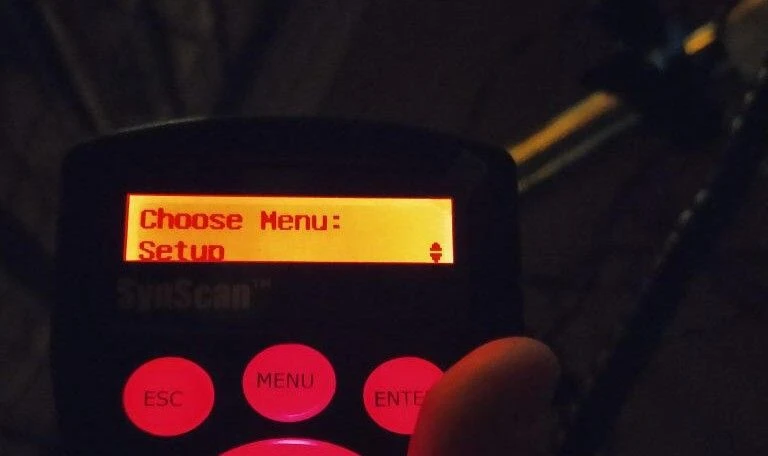
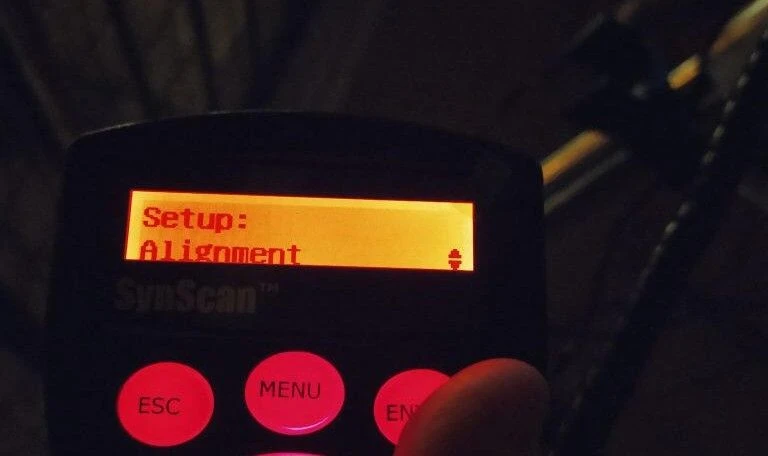
Once the data has been restored, use the selection arrows to scroll through the menu and choose"Setup". In the Setup menu, look for the option"Alignment".
Una volta ripristinati i dati, usa le frecce di selezione per scorrere il menu e scegliere"Setup". Nel menu Setup, cerca l'opzione "Alignment".
Verification of Polar Alignment Error Correction
At this stage, repeat a 2 or 3-star alignment to verify that the polar alignment error has been minimized. Once again, we will first point to Alpheratz and then toDeneb, following the same steps as outlined earlier.
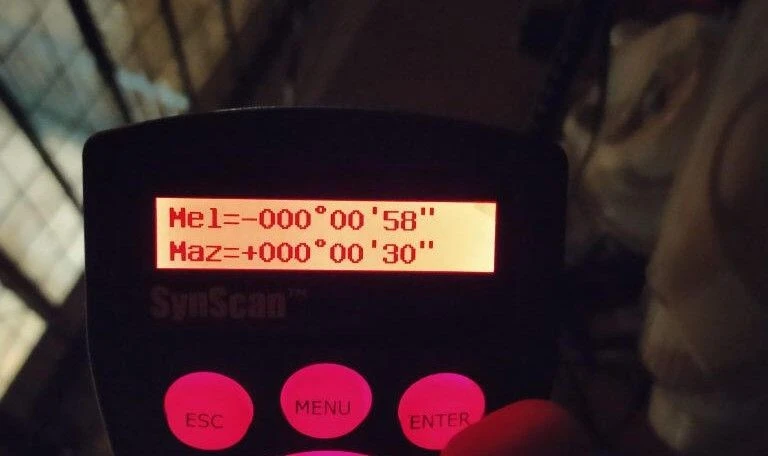
At the end of the process, check the Hand Controller to see the updated error values it provides.
Verifica della Correzione dell'Errore di Allineamento Polare
A questo punto, ripeti un allineamento a 2 o 3 stelle per verificare che l'errore di allineamento polare sia stato minimizzato. Ancora una volta, punteremo prima Alpheratz e poiDeneb, seguendo gli stessi passaggi descritti in precedenza.
Al termine del processo, controlla l'Hand Controller per vedere i valori di errore aggiornati che fornisce.
The method described allows adequate stationing for single exposures up to 10 minutes of integration with active guiding, with contained deviations. The residual error depends on mechanical backlash or structural flexures, but the effectiveness of the procedure is verified under real-world conditions over extended periods.
This technique addresses the need to perform polar alignment without visibility of the Celestial North Pole and without resorting to complex setups. While dedicated software exists, control via the hand controller represents a self-sufficient operational solution, suited for those who don't use a PC in the field or stand-alone control modules (e.g. ASIAIR, StellarMate, etc.).
Il metodo descritto permette di ottenere stazionamenti adeguati a posa singola fino a 10 minuti di integrazione con guida attiva, con scostamenti contenuti. L'errore residuo dipende da giochi meccanici o flessioni strutturali, ma l'efficacia della procedura è verificata in condizioni reali d'uso su periodi prolungati.
La tecnica risponde all'esigenza di effettuare l'allineamento polare senza visibilità del Polo Nord Celeste e senza ricorrere a configurazioni complesse. Sebbene esistano software dedicati, il controllo tramite pulsantiera rappresenta una soluzione operativa autosufficiente, indicata per chi non impiega PC sul campo o moduli di controllo stand-alone (es. ASIAIR, StellarMate, ecc).